Unreal Engine 5 Cinematic Photorealistic Architecture Rendering
In this comprehensive video tutorial, I will guide you through the process of creating a cinematic architectural rendering from start to finish. To begin, you will need to download and install Unreal Engine 5 from the official website. Once installed, you can proceed with the following steps:
1. Obtain a 3D model of the house: For this tutorial, a free house 3D model from Evermotion is used. Visit the Evermotion website, create an account, and download the necessary project archive. Extract the files and open the 3DS Max file.
2. Prepare the 3D model: In 3DS Max, set up the viewport and projections for easier operation. Remove any unnecessary geometry, cameras, and lights, leaving only the building and furniture. Group elements if necessary. Export the geometry to FBX format, ensuring to disable cameras and light items during the export.
3. Create a new Unreal Engine project: Launch Unreal Engine 5 and create a new project using the Architecture Blank template. Delete unnecessary elements from the scene, leaving only the ExponentialHeightFog, SunSky, and VolumetricCloud.
4. Import the 3D model: In the Content Browser, create folders for geometry, textures, and materials. Import the exported FBX file into the geometry folder, ensuring to set the appropriate import options. Address any display issues that may arise due to GPU drivers, if necessary.
5. Set up materials: Create a new material in Unreal Engine and set up nodes for texture samples, such as diffuse, specular, roughness, and normal maps. Connect the appropriate textures to the nodes, ensuring to promote certain parameters to allow for easy customization. Create a material instance from the base material and adjust the parameters to achieve the desired look.
6. Build the environment: Use Quixel Bridge, integrated into Unreal Engine, to browse and download assets for the environment. Select assets from collections and drag them into the scene to shape the desired environment. Place landscape assets and rock formations to create mountains and terrain. Fine-tune the fog settings using the ExponentialHeightFog component.
7. Add furniture and interior elements: Export furniture and interior elements from 3DS Max and import them into Unreal Engine as separate FBX files. Create and set up materials for each asset, following a similar process as the house materials. Place the furniture and interior elements in the scene to enhance the realism of the rendering.
8. Fine-tune lighting and post-processing: Adjust the lighting settings by manipulating the SunSky components, such as the position of the sun, sky appearance, and atmospheric effects. Utilize the Post Process Volume to refine the overall look and feel of the scene, including colors, lighting, shadows, and other properties.
9. Set up cameras and animation: Place cameras in the scene to capture different perspectives and angles. Set up camera animations using Level Sequence and keyframe animations to create dynamic camera movements. Fine-tune camera settings, focal length, and exposure for each shot.
10. Render the final animation: Use the Movie Render Queue plugin to render the camera animations as a video sequence. Set the output format and resolution, adjust anti-aliasing settings, and specify the output folder for the rendered frames. Render the sequences for each camera, ensuring to use separate folders for each sequence to avoid overwriting files.
11. Post-production and video editing: Import the rendered image sequences into a video editing software, such as DaVinci Resolve. Arrange the sequences on the timeline, add music and sound effects, and perform any necessary color grading or video enhancements.
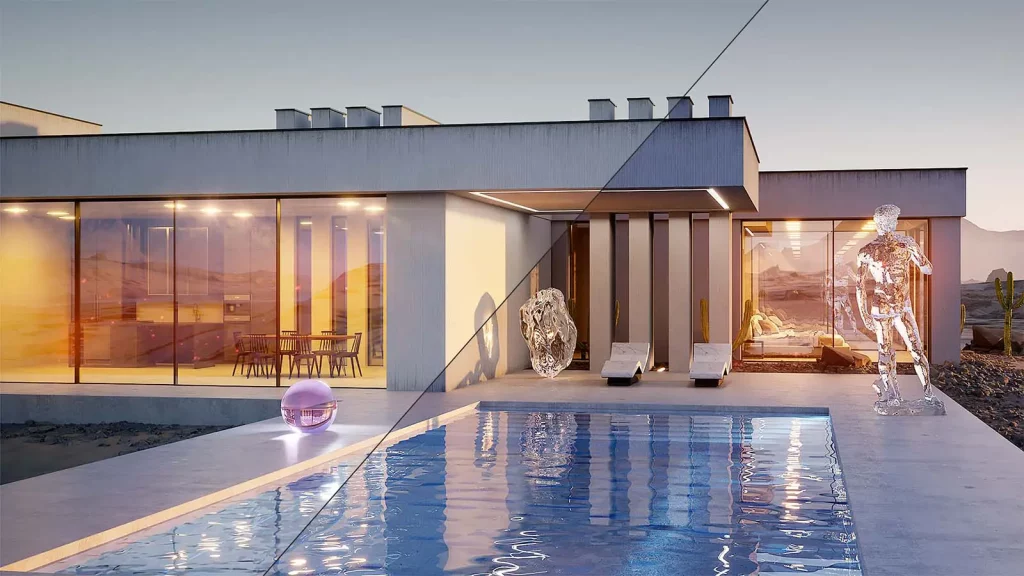
By following these steps, you can create an impressive cinematic architectural rendering using Unreal Engine 5. The final project files are available for download, allowing you to examine the setup and explore further. I hope you find this tutorial helpful, and I wish you success in creating stunning architectural renderings for your own projects.
Final result:

